Making Sea Slug Chocolate with 3D Printing
March 14th is White Day, a day in Japan when men are expected to give chocolates or other gifts to women in return for Valentine’s Day.
https://en.wikipedia.org/wiki/White_Day
I received chocolates from my wife on Valentine’s Day, and to my surprise, they were wonderful keyboard-shaped chocolates! This sparked my creative desire to make something she likes out of chocolate in return. Since my wife loves sea creatures, specifically sea slugs, I decided to make sea slug chocolates. While combining ready-made chocolates and sweets might be enough to make something resembling a sea slug, I wanted to create something realistic. So, I decided to make it using a 3D printer and silicone molds.
3D Model of a Sea Slug
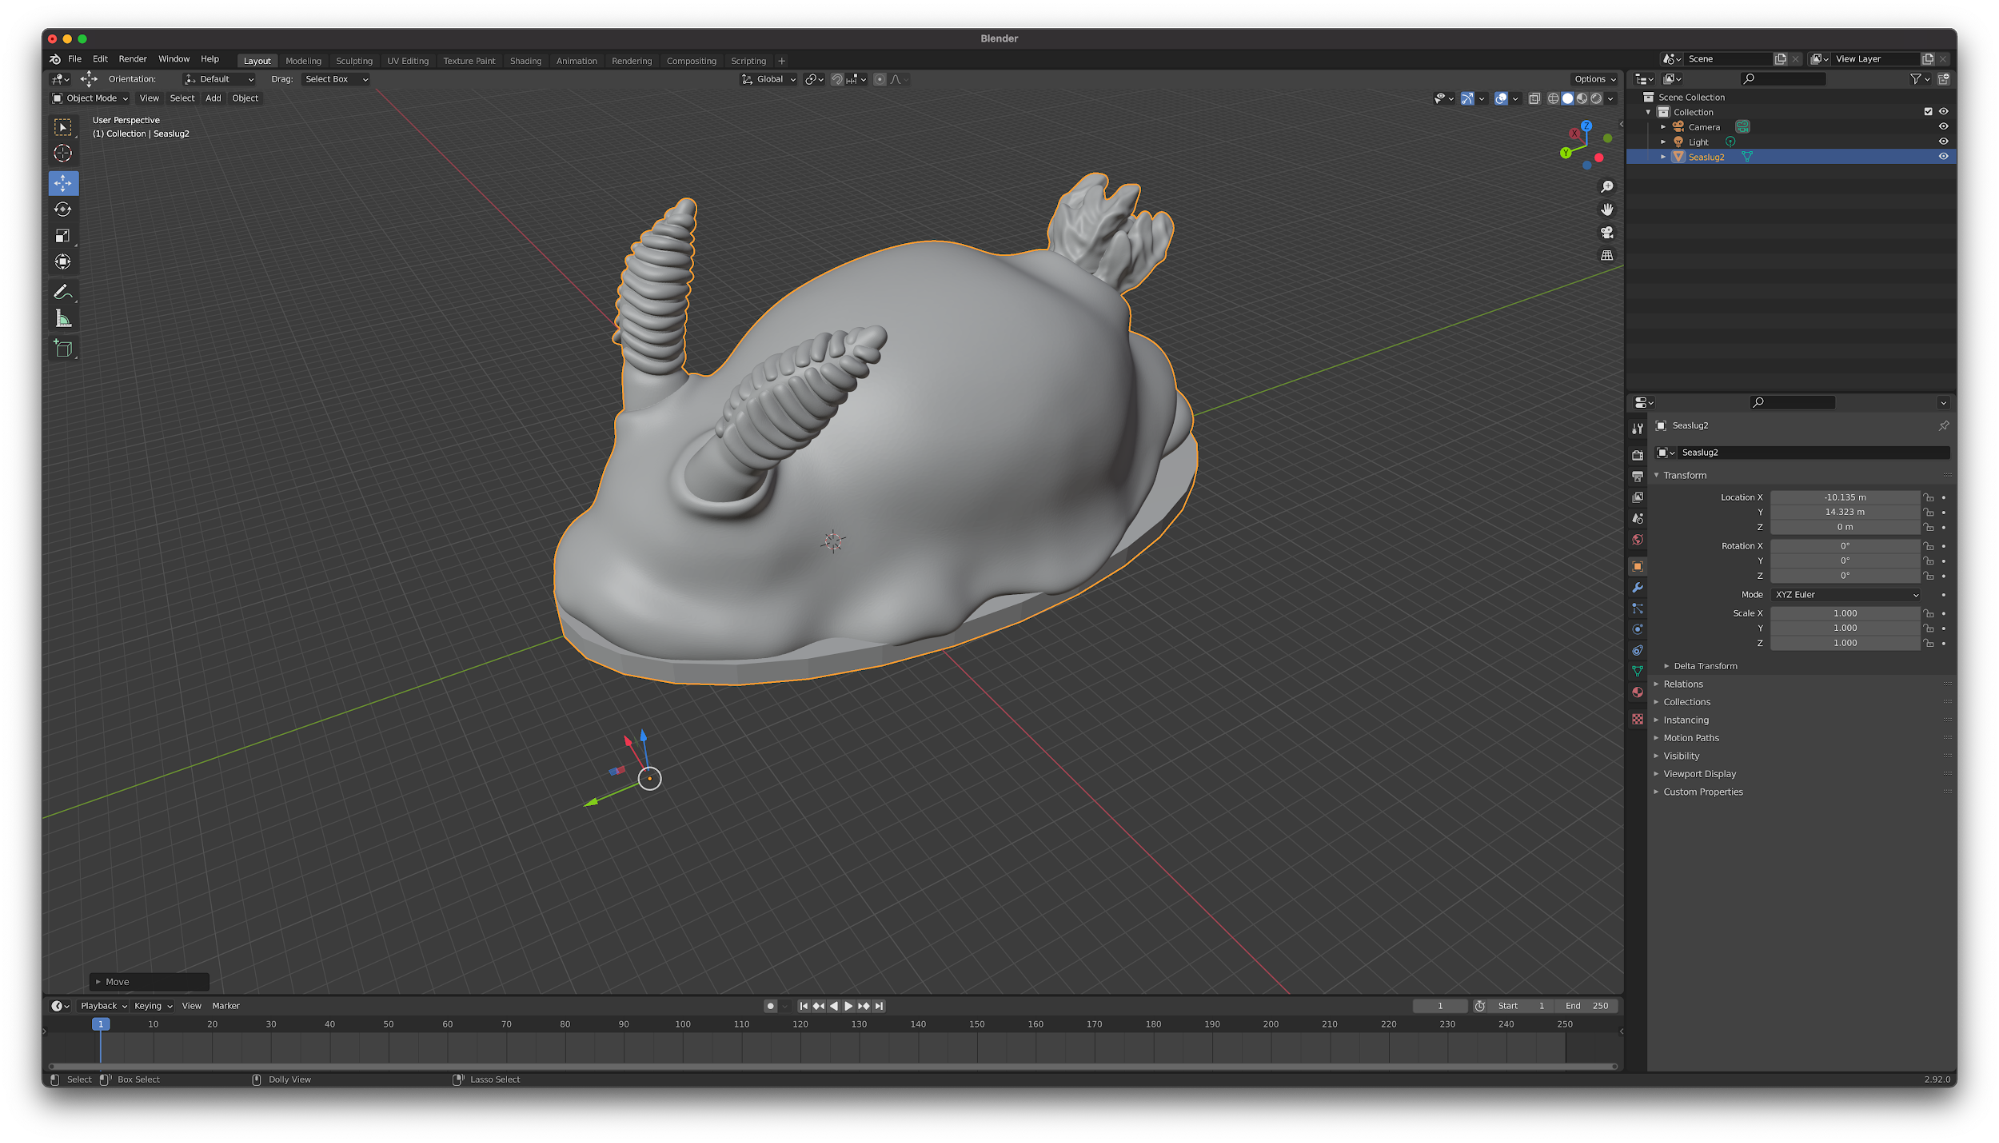
First and foremost, I needed a 3D model to print. I started searching around [Poly by Google](https://poly.google.com/ “Poly by Google”), which is scheduled to shut down soon, but perhaps because it’s too niche, I couldn’t find a good model easily. Eventually, I found this model. It’s plump and cute. I decided to use this model for the time being.
https://sketchfab.com/3d-models/bunny-sea-bunny-c3630a8eab354cf1ab64cea329dabc7c
In the original model, the bottom also had complex bumps, but since that would be in the way when 3D printing and making a silicone mold, I attached a suitable cylinder using Blender.
After that, I exported this model to an stl file and sent it to the printer. The 3D printer I used this time is FlashForge’s Adventurer3.
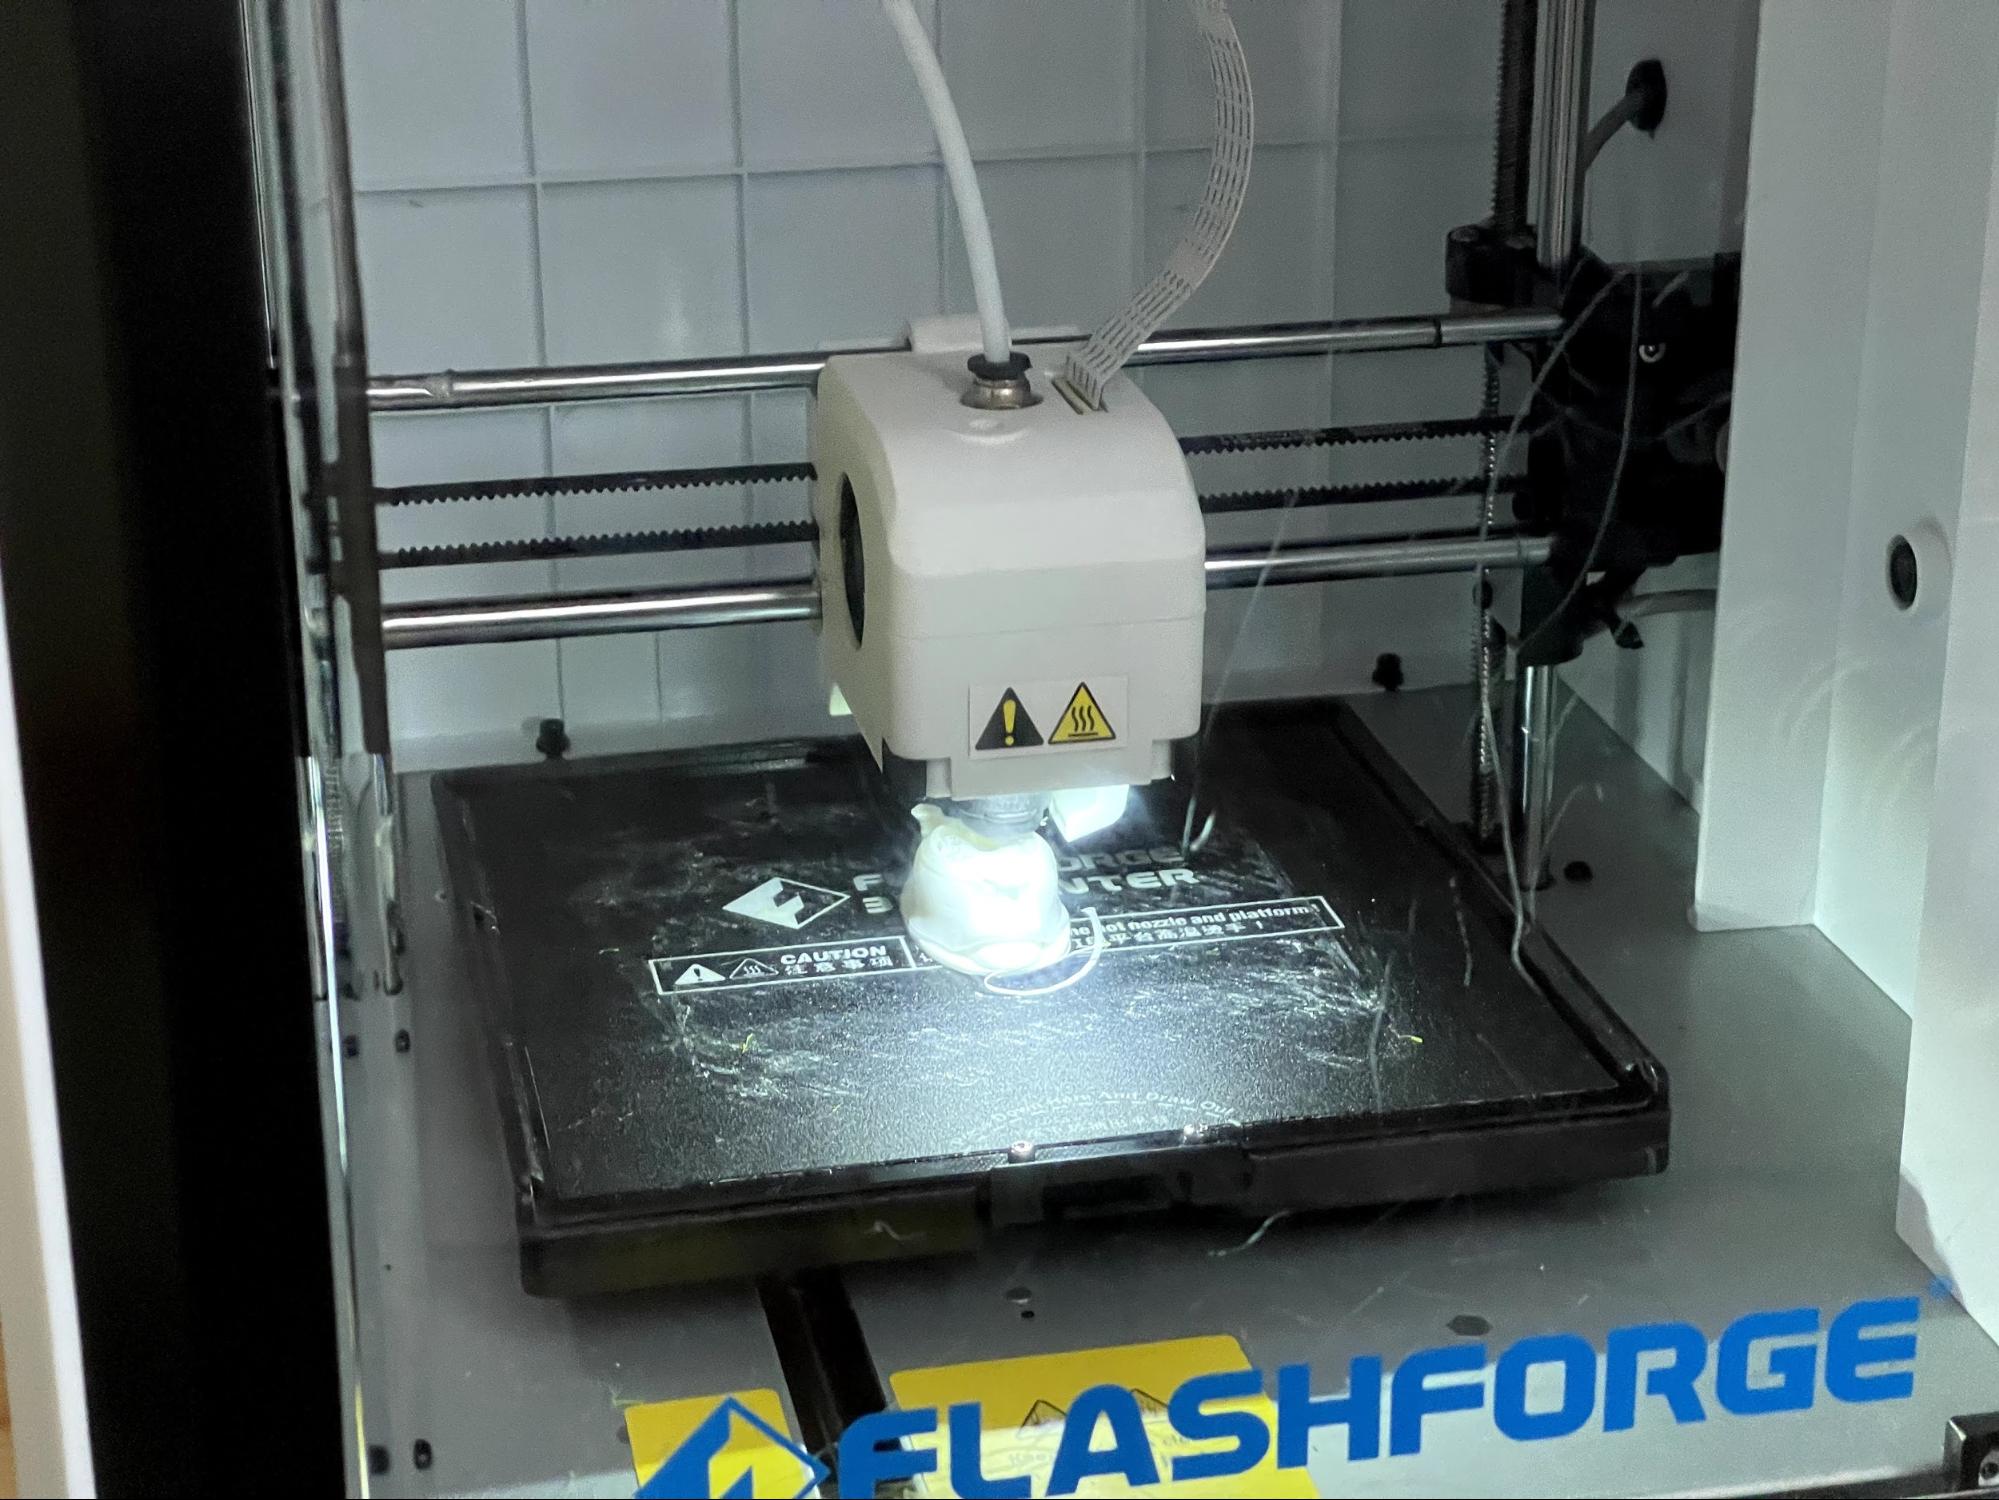
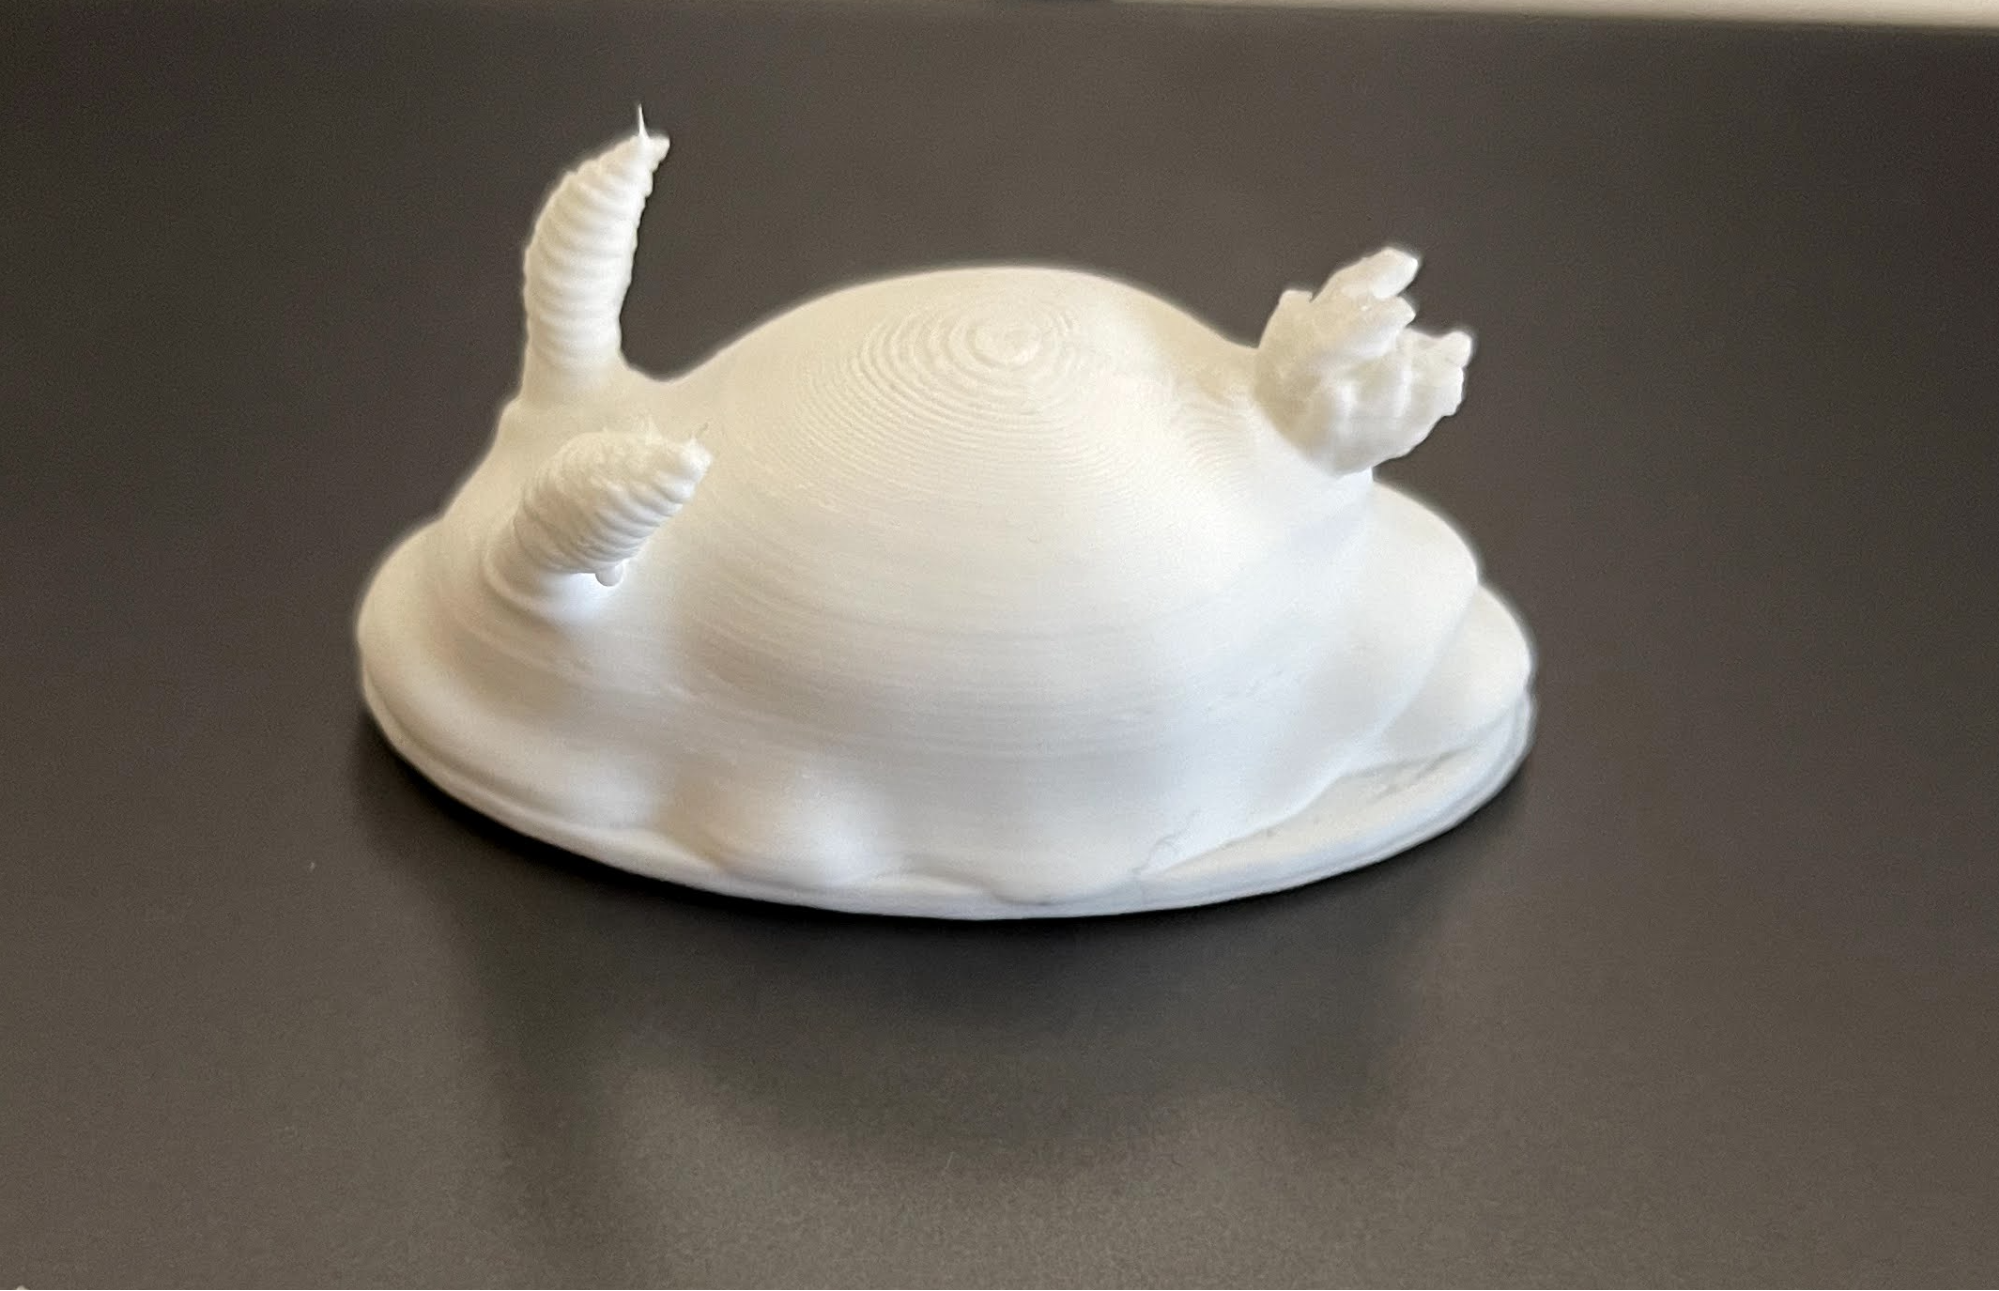
Print complete. It looks good.
Making the Silicone Mold
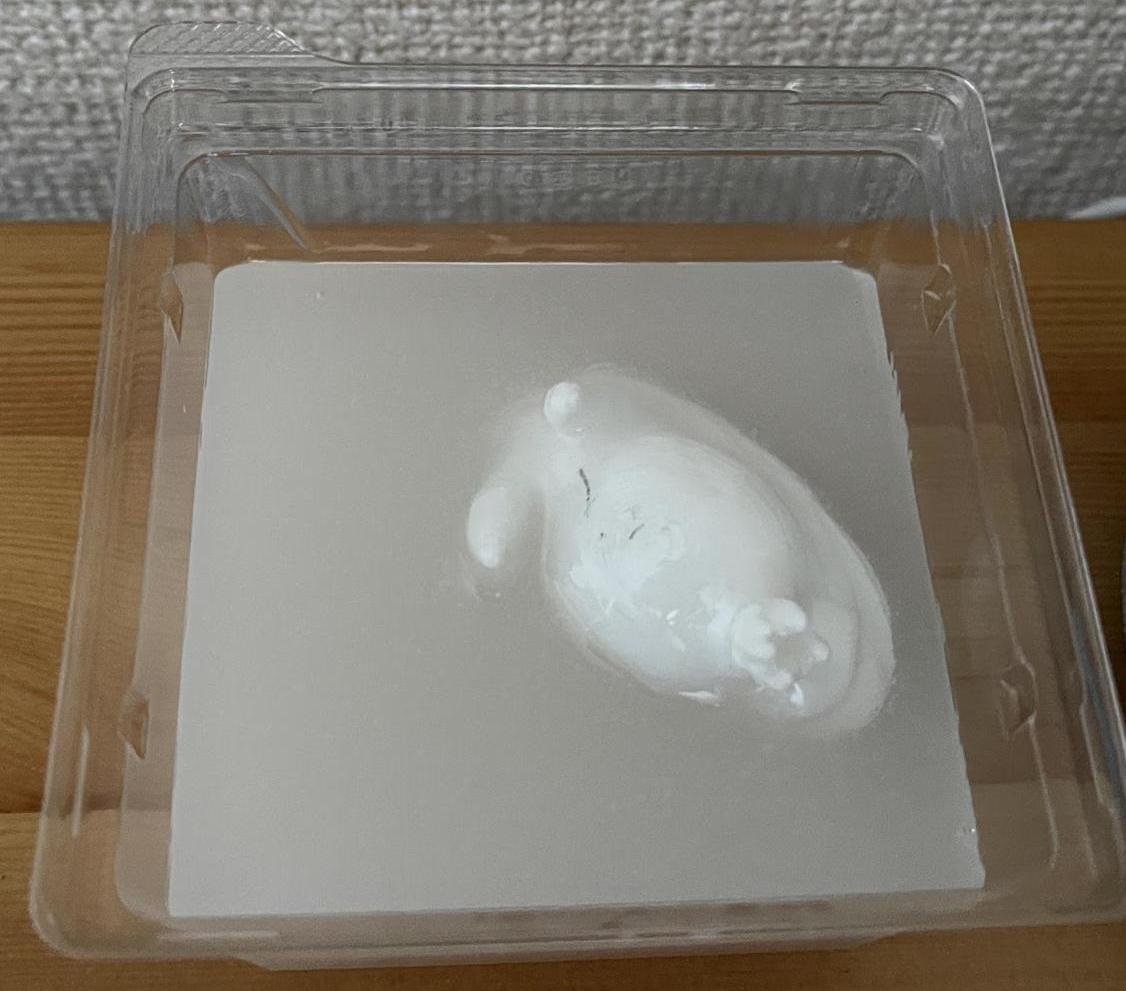
Next, I made a silicone mold using this sea slug. I placed the sea slug in a suitable container and poured silicone into it. I used the following silicone product.
The first time, I didn’t fix the sea slug properly, so it floated and failed. Of course it floats, it’s a liquid...
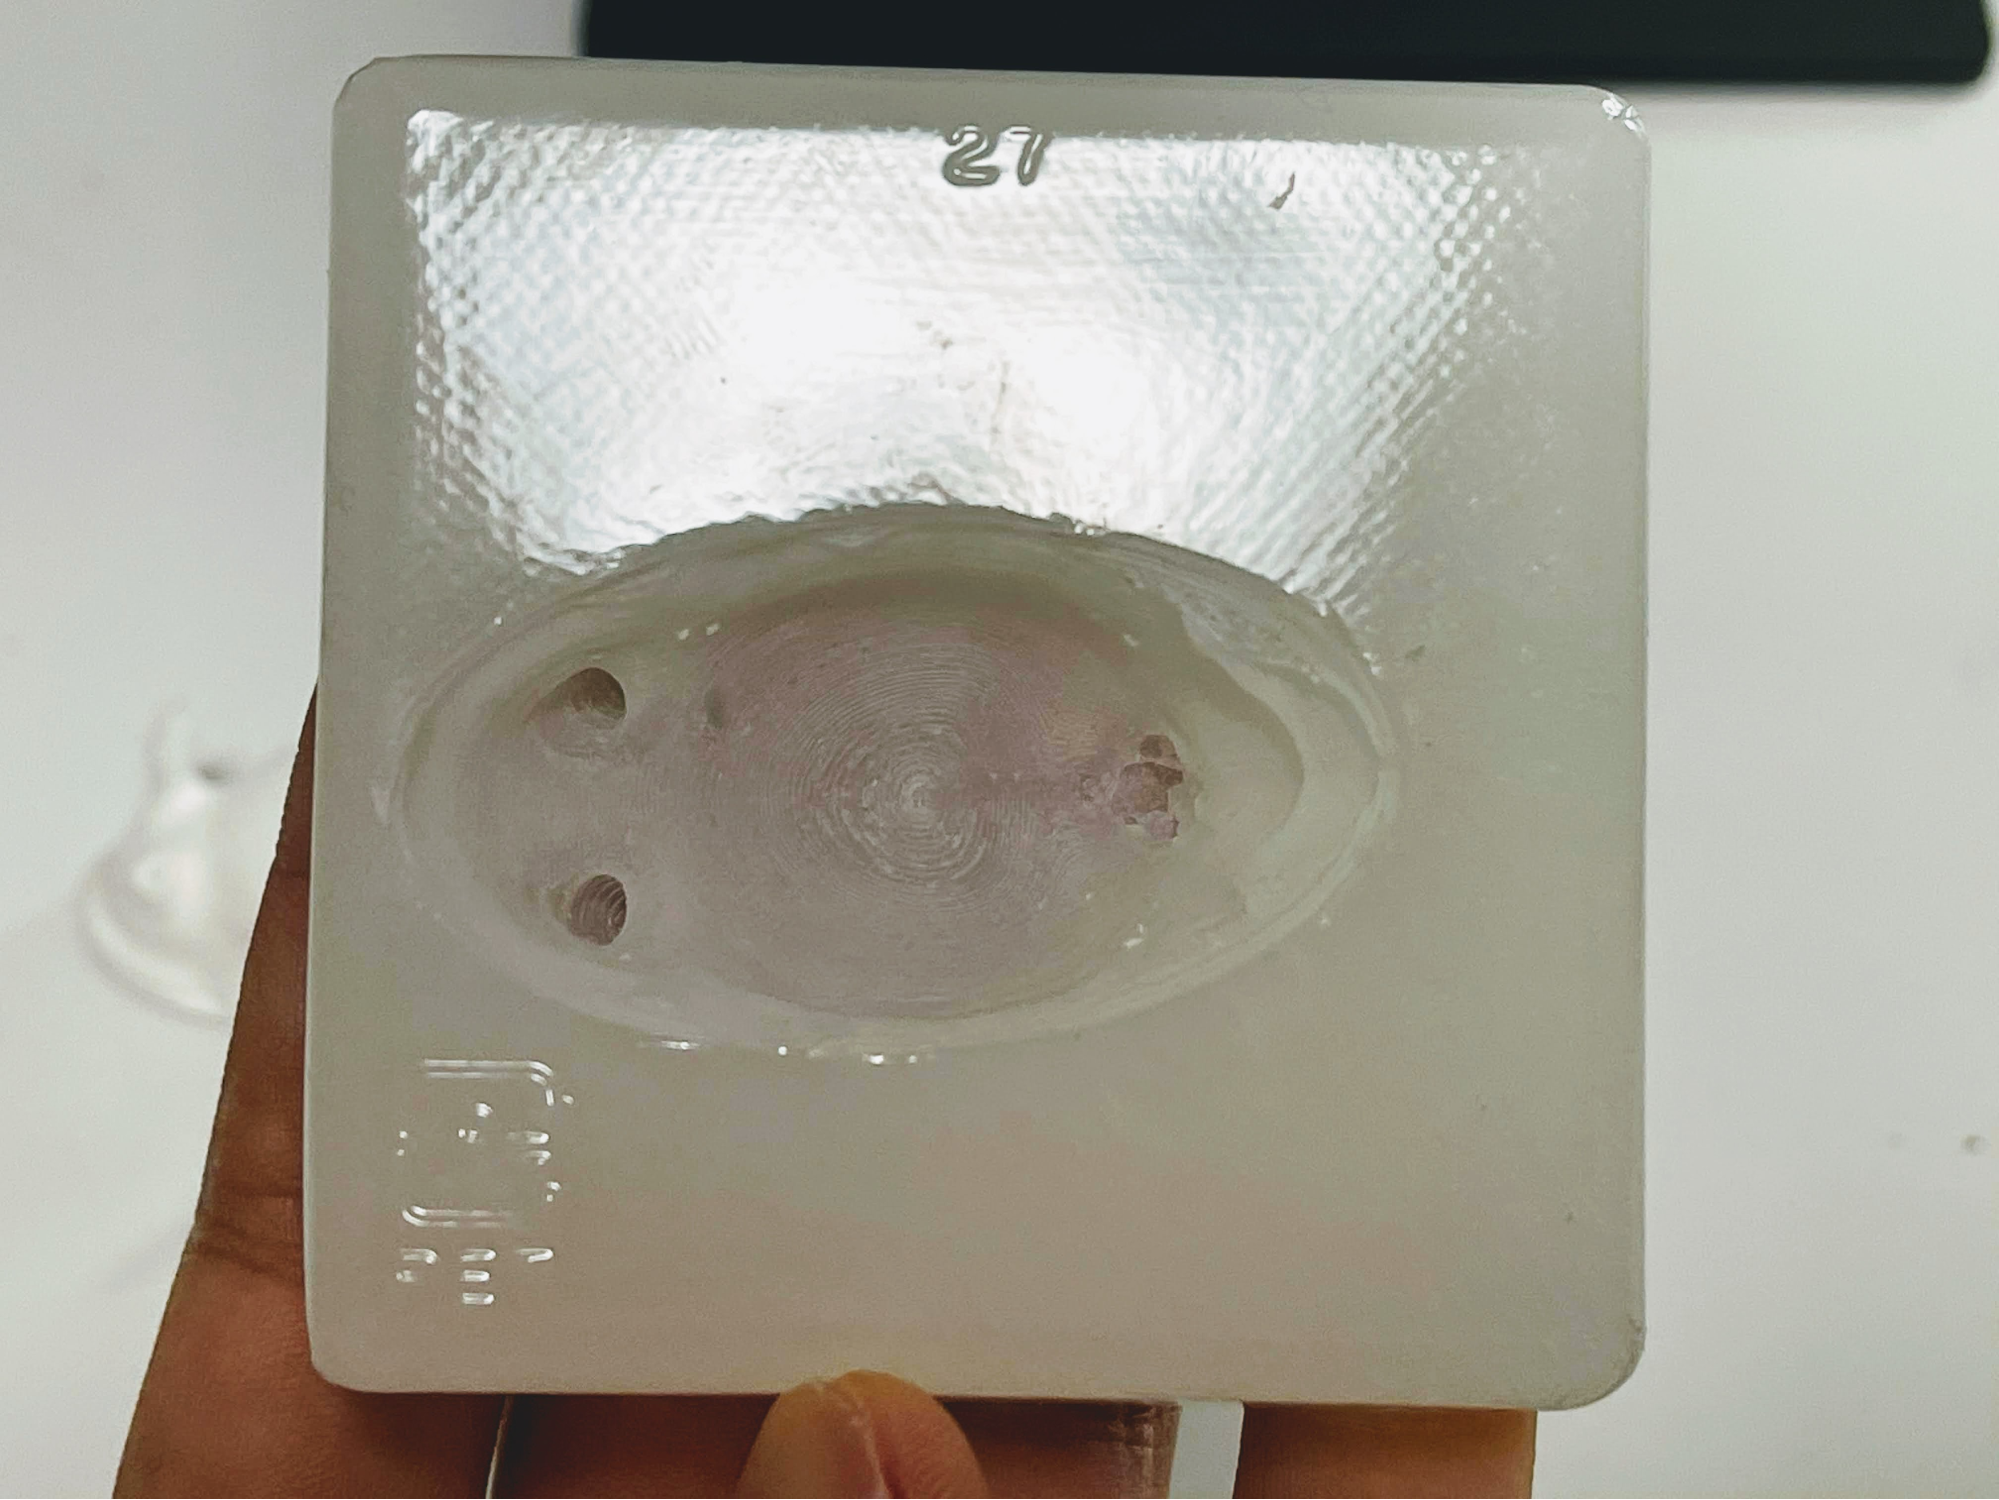
This mold was made by firmly securing the bottom with a glue gun. Surprisingly, the layer lines remained quite visible.
Making Chocolate
Now for the long-awaited chocolate making. I poured melted chocolate bars bought from the supermarket and chilled it in the refrigerator for about an hour. And what came out was...
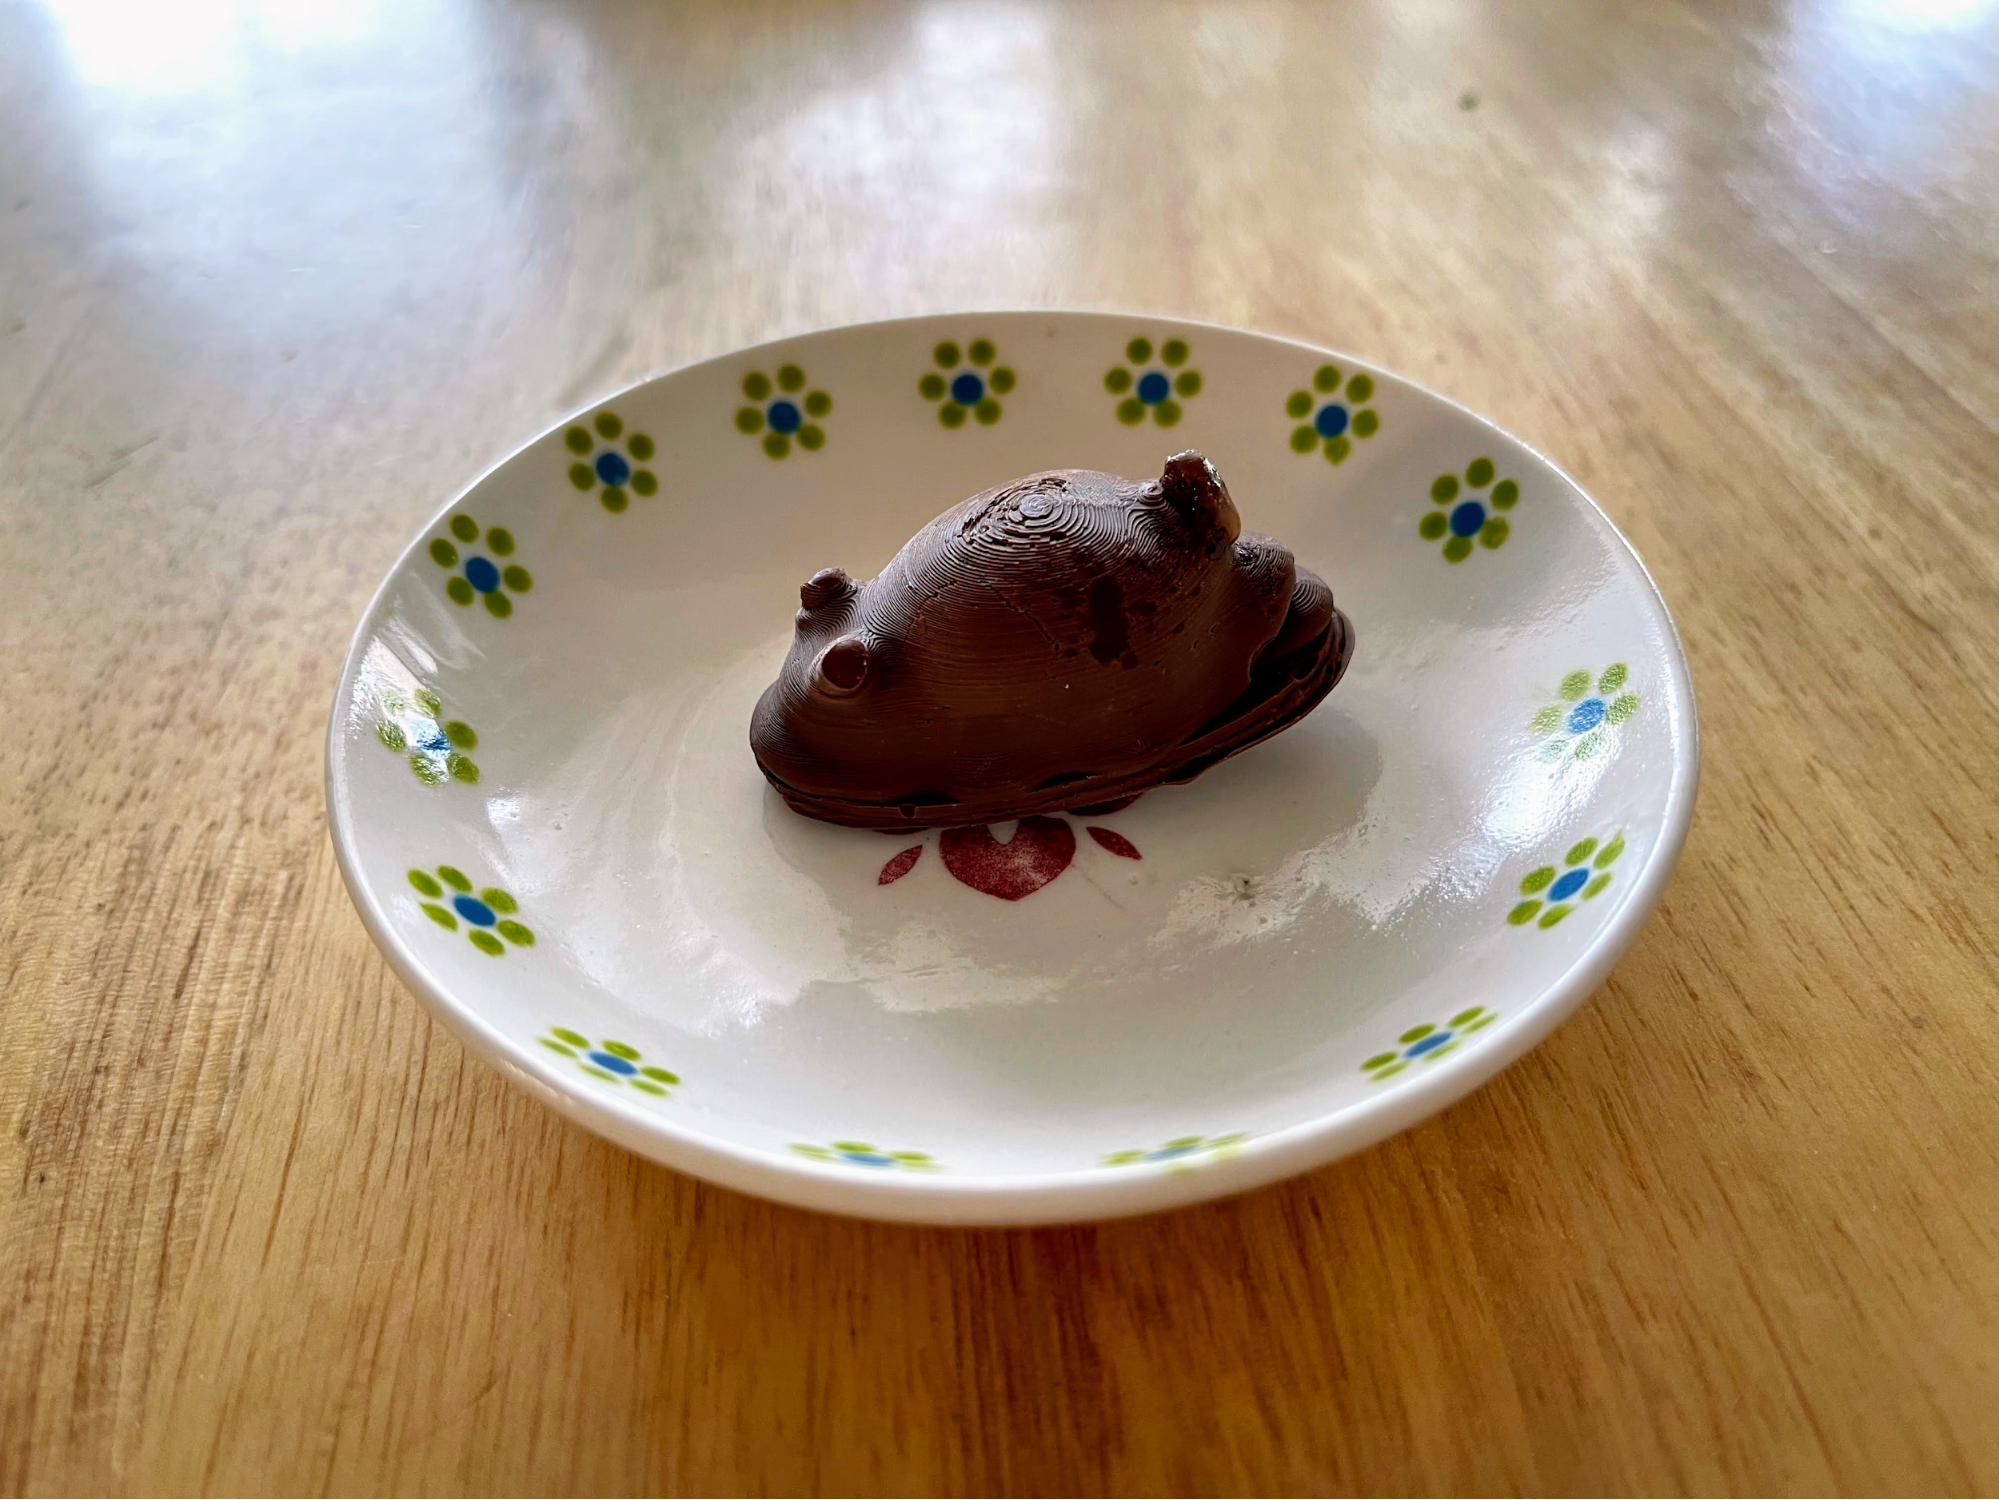
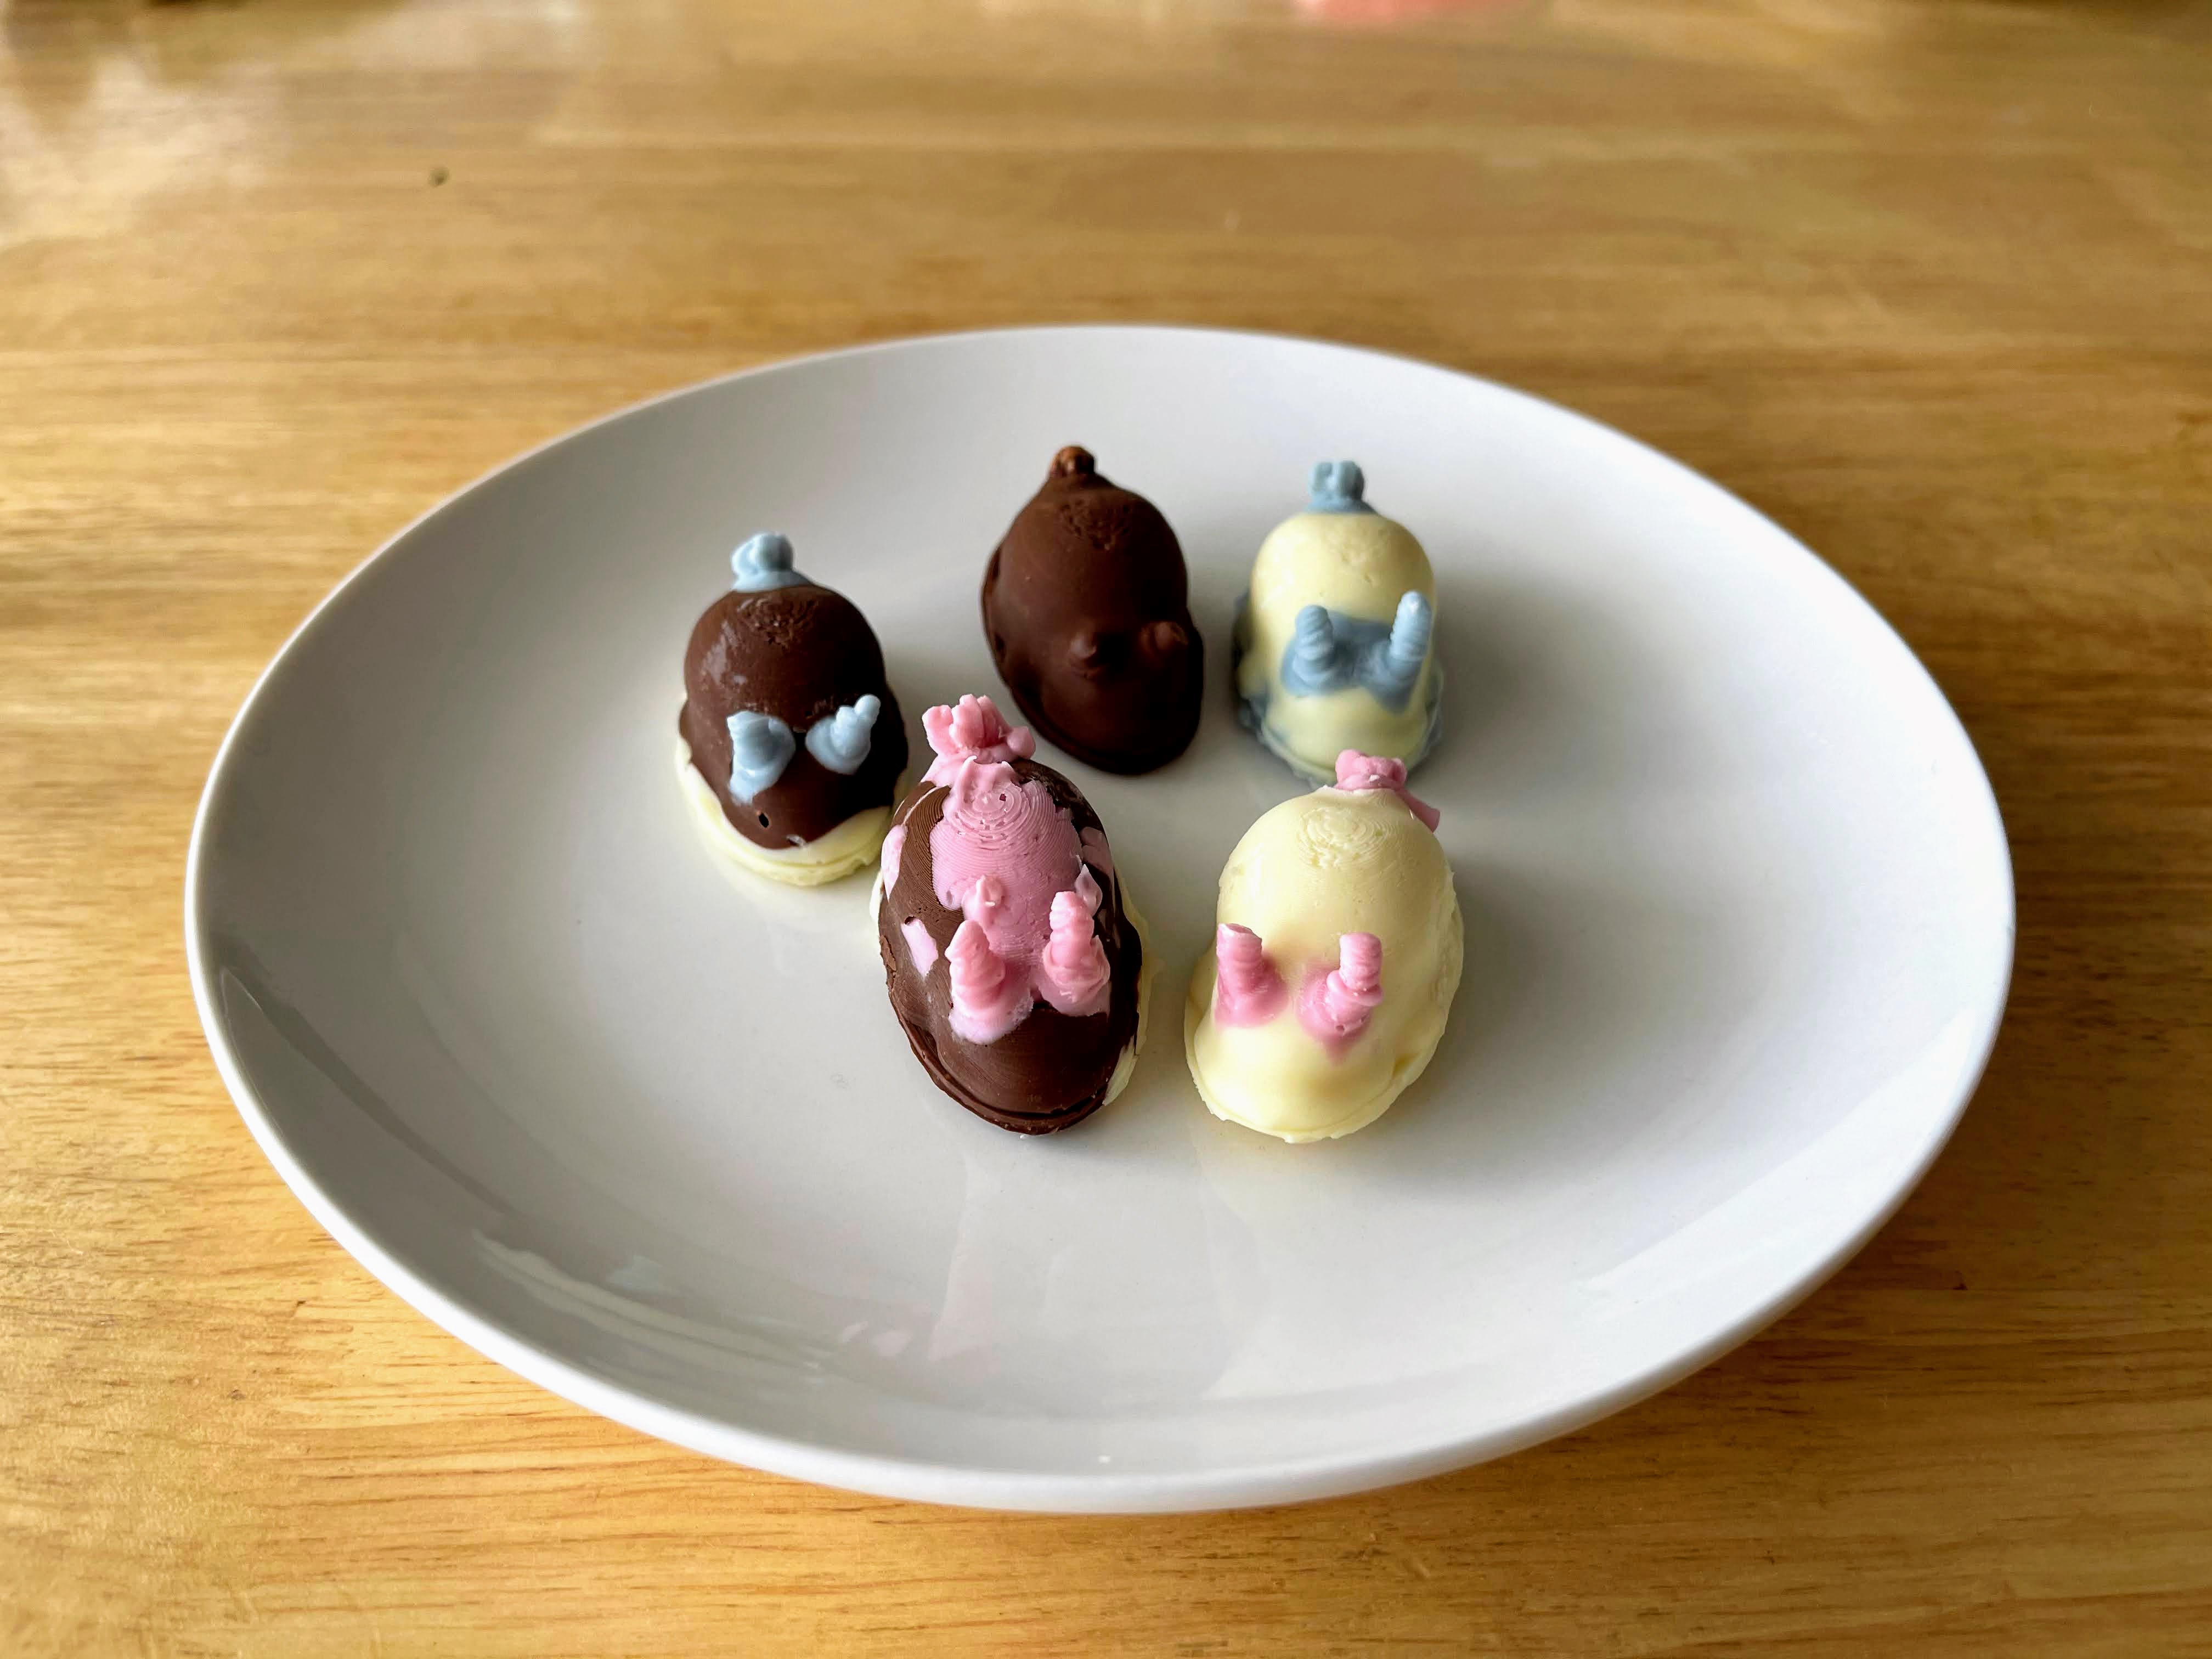
Ta-da! I managed to make something that looks like it. The horns ended up short, probably because the chocolate didn’t flow well into them. But this is cute in its own way.
To ensure the chocolate flows into the narrow parts, this time I tried making the ear parts using a chocolate pen.
It’s getting much cuter! Actually, the horn parts broke when I took it out, so I welded them with a chocolate pen.
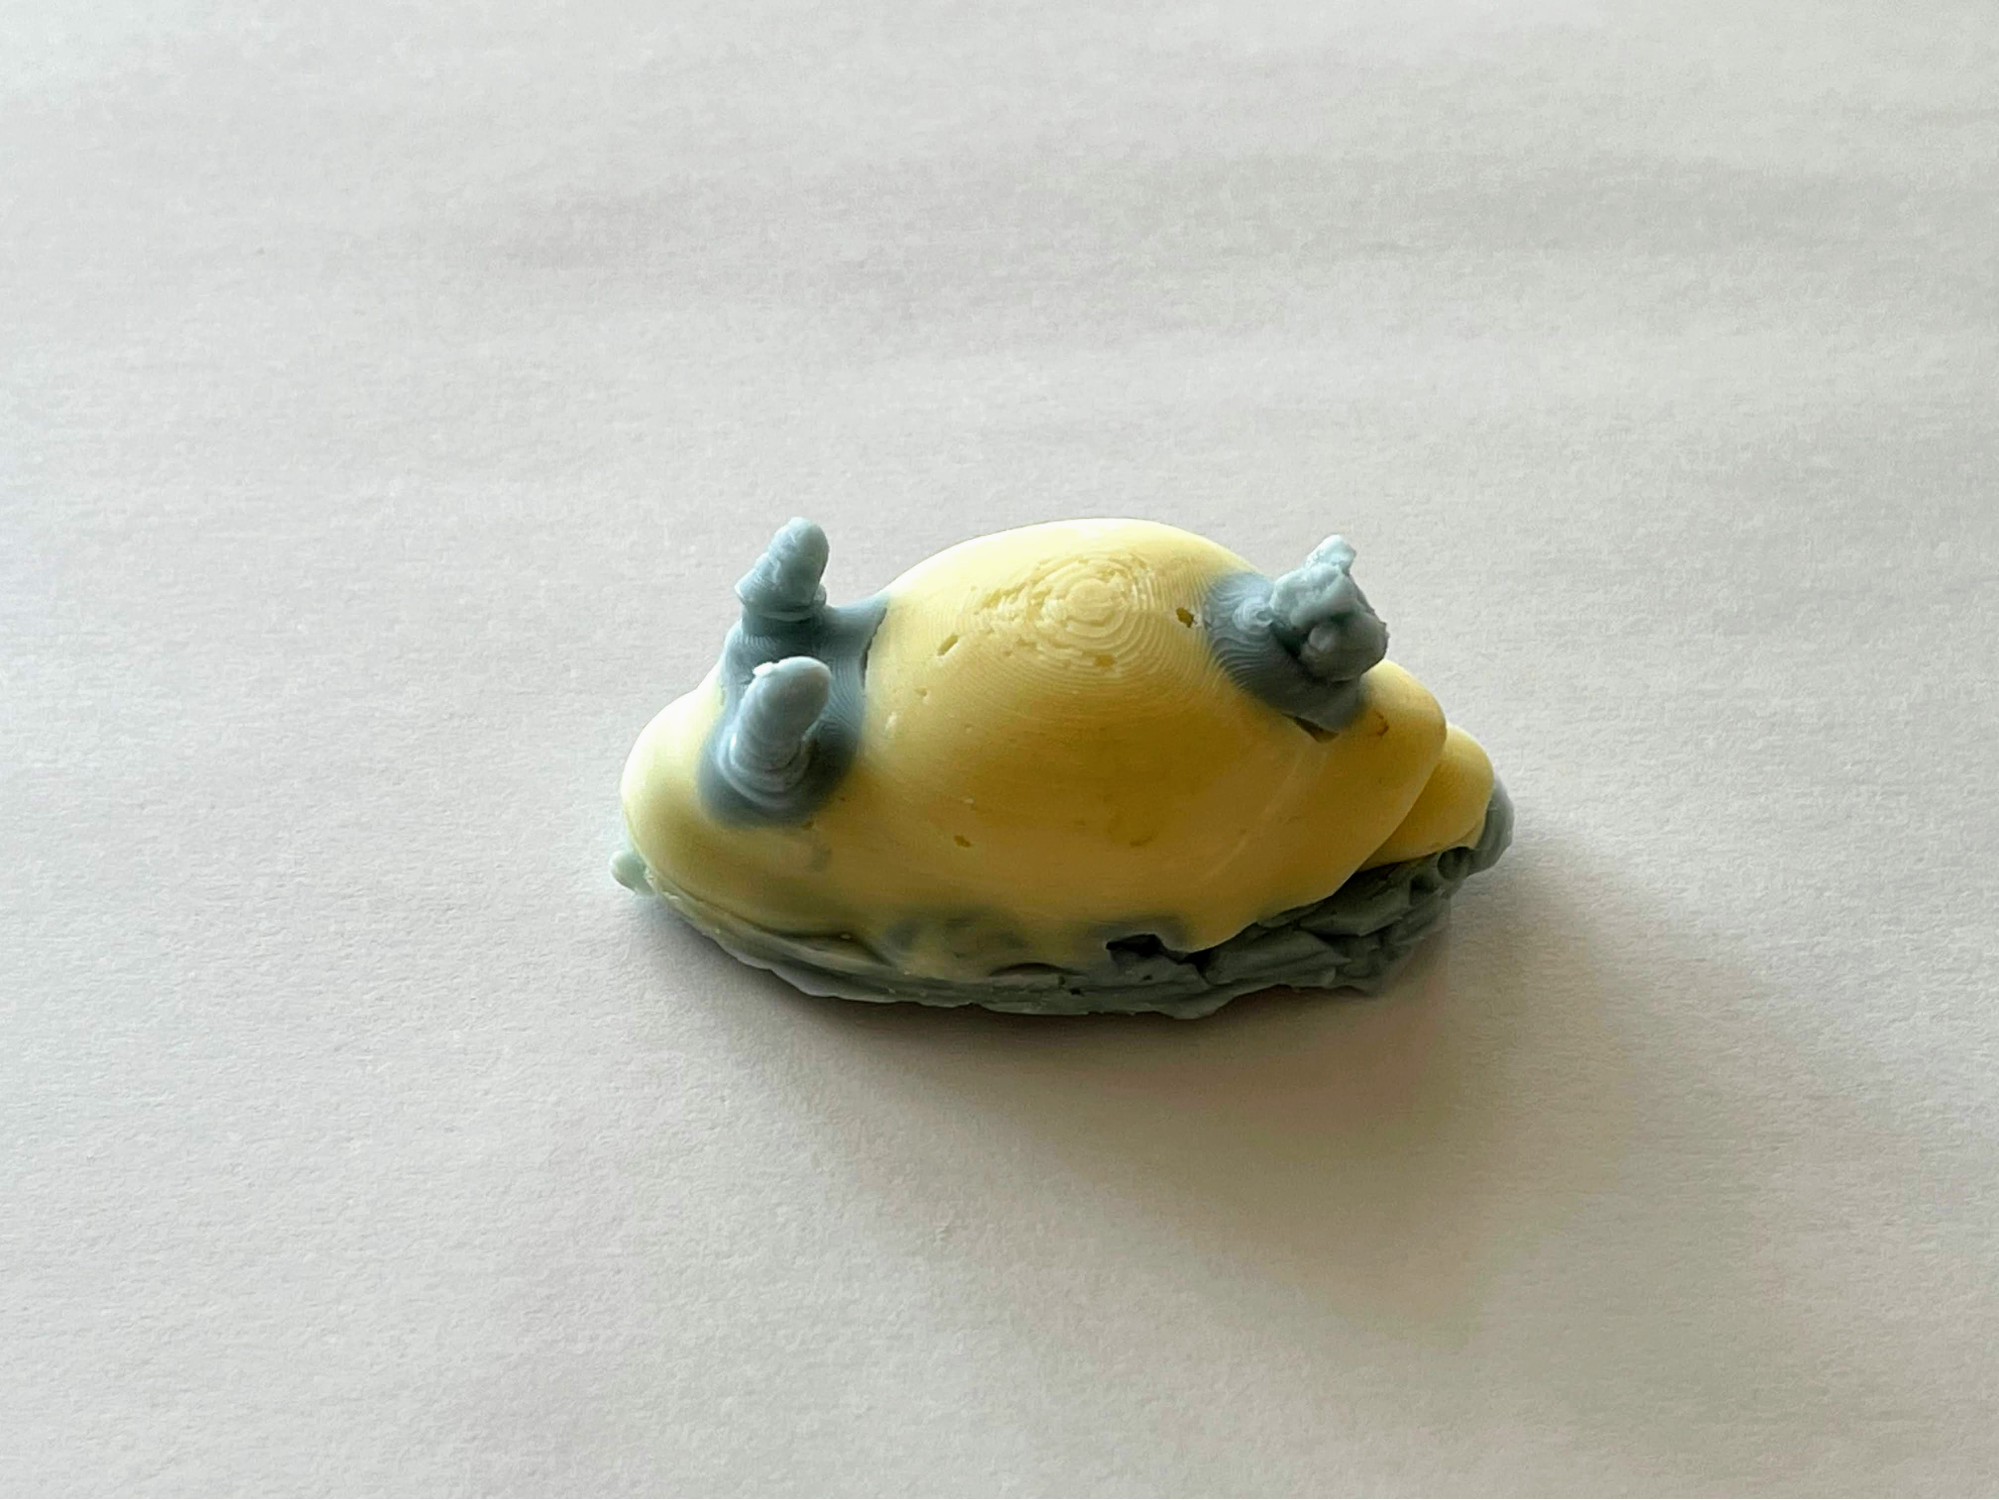
In the same way, I gradually increased the color variations.
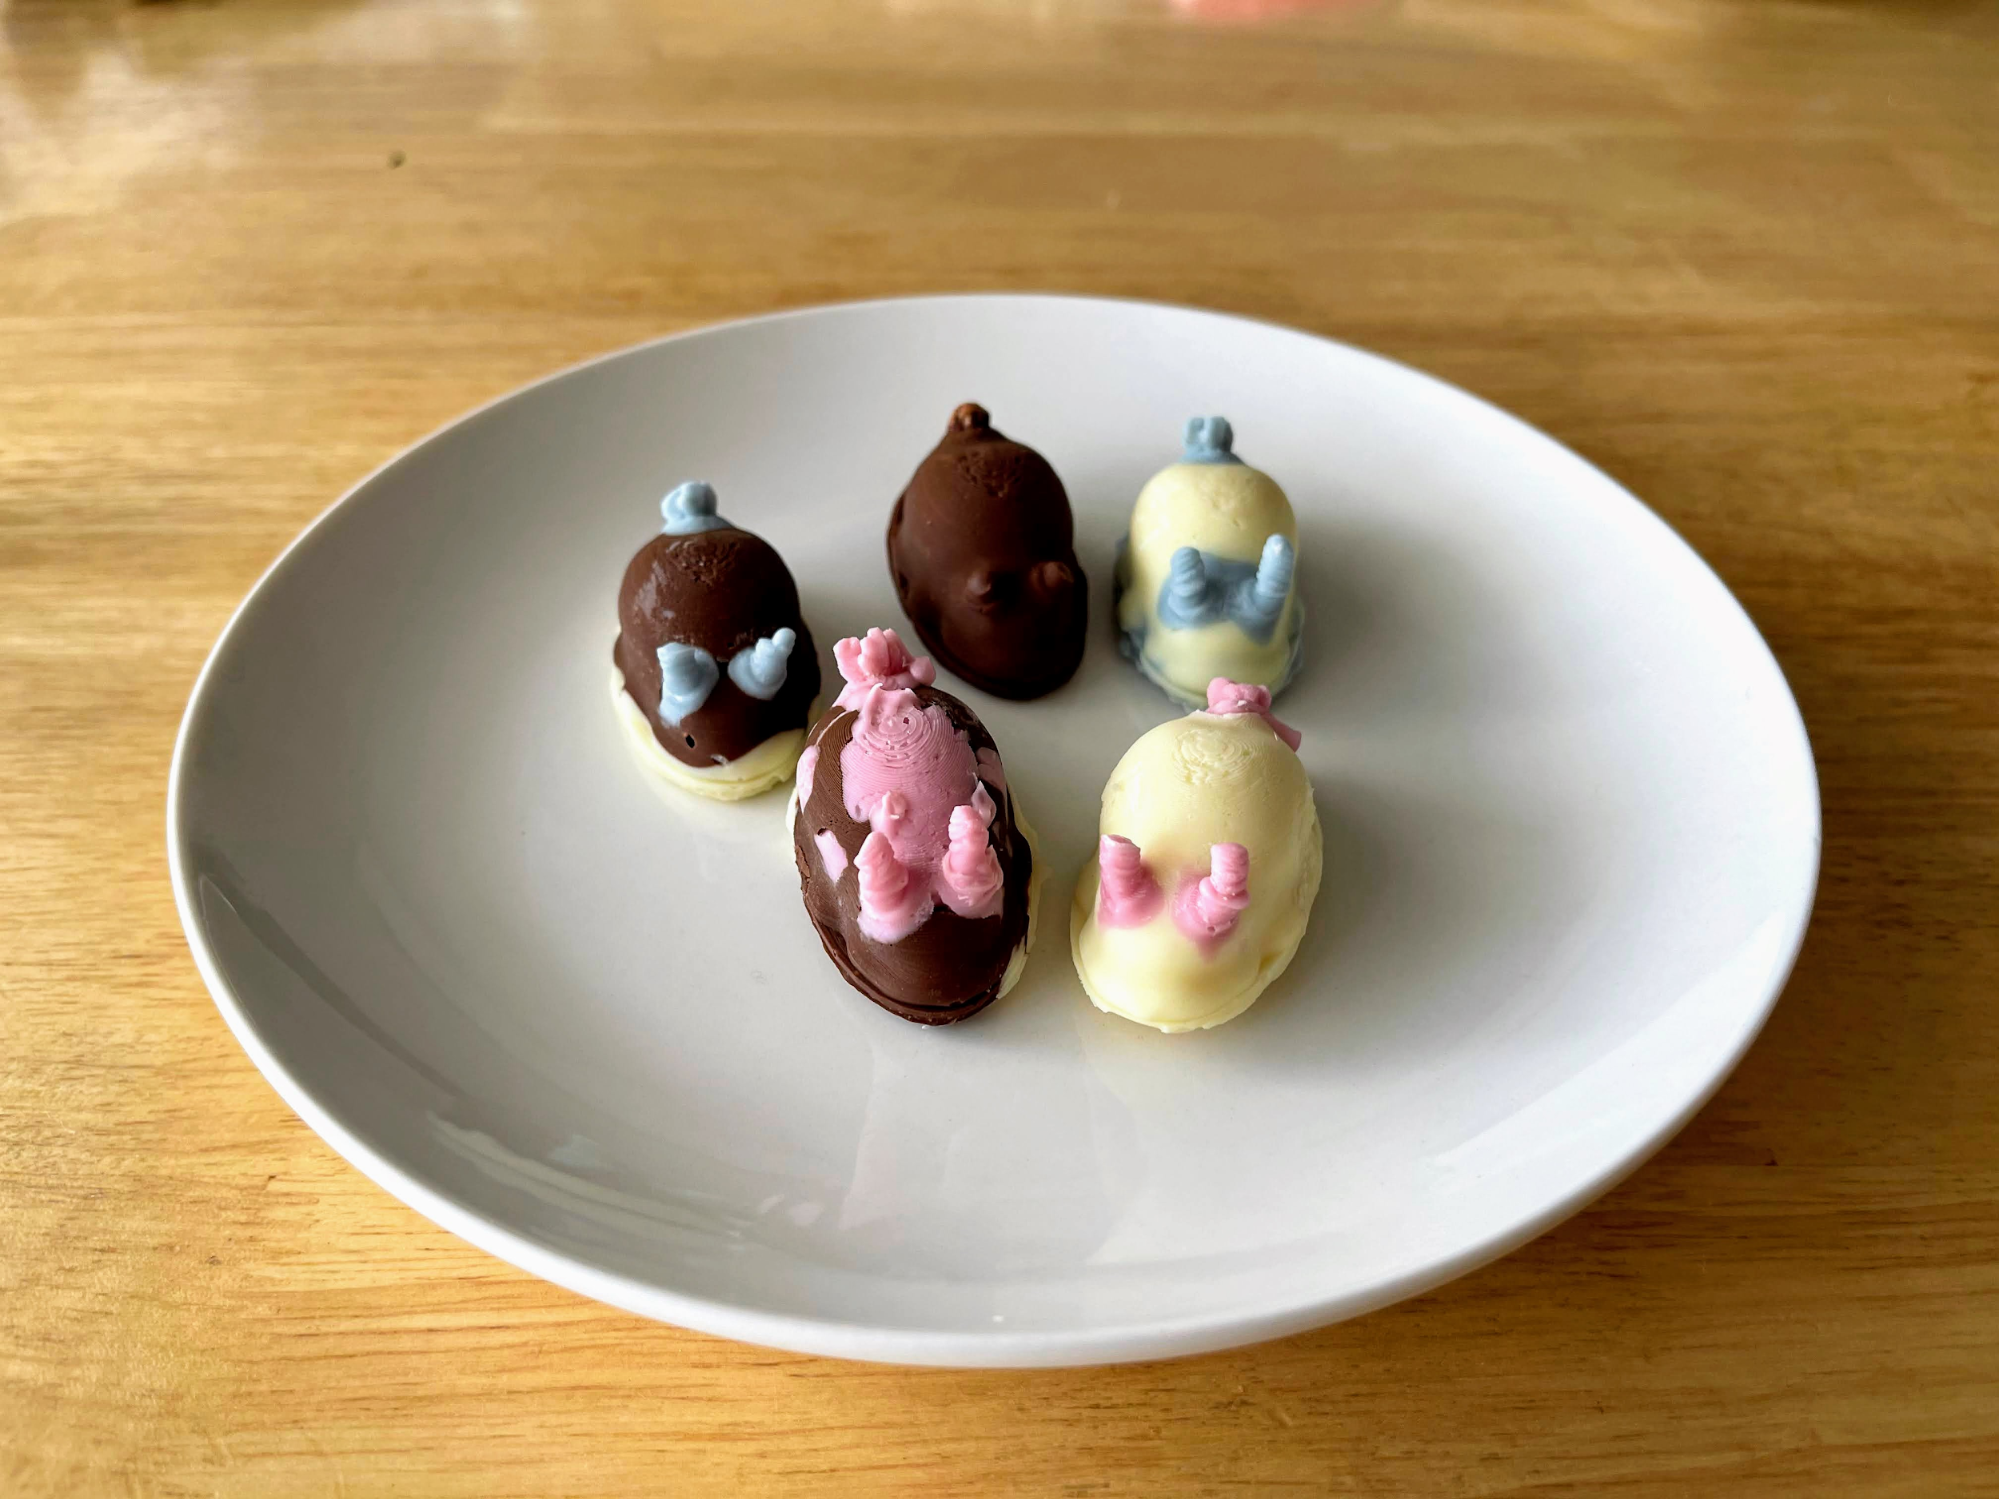
Done!!
Just increasing the color variations makes it much more colorful.
Conclusion
So, that was an introduction to making original chocolates using a 3D printer. My wife was also happy with it. I’m glad.